In 1944, with a newborn baby, my grandmother packed a few possessions and moved. The Moscow Armistice had just been signed. Her home region, Uukuniemi in Karelia, had been part of southeastern Finland; three-quarters of it would now become Soviet territory.
Among the things she carried with her was almost certainly a rye bread “starter,” which is a bit of dough that is allowed to ferment and then added to the following batch of bread. Rye bread was a staple of the Finnish diet at the time, even more than it is today.
How likely was it that she took the starter with her? I asked my great-aunt about it, and she said, “Of course she had the starter,” in a way that implied the question was silly.
Getting started
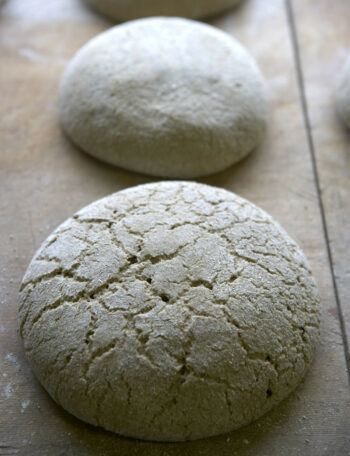
As a loaf rises, patterns may emerge on its surface.Photo: Norman Ojanen/Otavamedia/Lehtikuva
My grandmother taught me how to cook. Quiet and unassuming, she was an unwilling teacher, but I was a tenacious learner. She might claim she couldn’t remember how to bake sweet cardamom rolls, pulla, but it jogged her memory to watch my novice attempts in the kitchen. I can remember her telling me, “More butter!”
After her death, I realised, with a sense of loss and missed opportunity, that I’d never learned to bake rye bread, the Finnish food I love most.
I mentioned this to my aunt in southern Finland. She went to the kitchen and came back with a cold grey ball in a plastic bag. This was, she thought, a rye starter that she’d found in my grandmother’s freezer. We later surmised that it was descended from that first travelling starter that had come from Karelia.
Really into rye
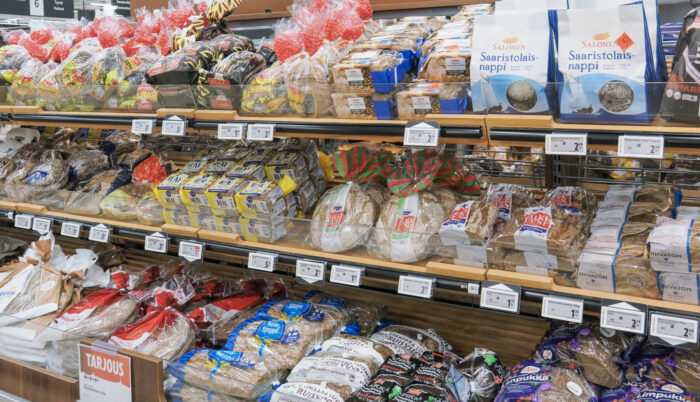
Grocery stores and bakeries in Finland offer a wide array of dark rye breads.Photo: Marika Koskensalo/Lehtikuva
According to a website called Suomi syö ja juo (Finland eats and drinks), maintained by Helsinki’s Hotel and Restaurant Museum, rye cultivation in Finland began around 500 BCE. For centuries, life in agricultural Finland was linked to sowing, growing, and harvesting rye for bread.
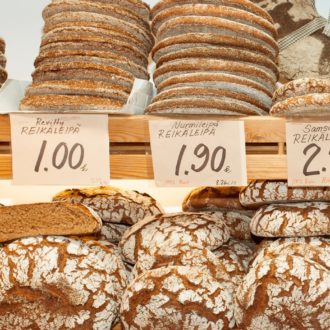
Baking took place once a week in eastern Finland and twice a year in western Finland, so people ate dried bread in the west and soft loaves in the east. Bread, especially rye, was part of almost every meal. Even today, rye ranks as the country’s favourite bread.
My family and I recently moved to Zagreb, Croatia. To get the starter across the continent, I rolled out a piece of dough and let it dry in a sunny patch on the windowsill. This preserved the bacteria that help the bread rise. Later, after I “fed” the starter (added fresh flour and water to give it new energy), it revived wonderfully.
One ingredient is patience
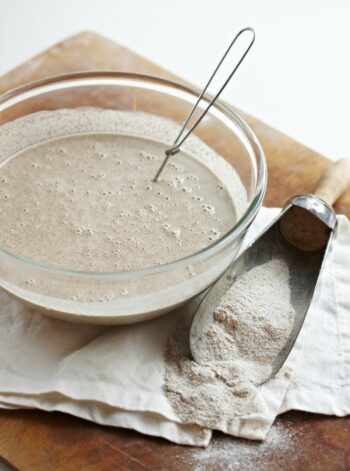
Making the starter for traditional Finnish sourdough rye bread takes several days.Photo: Jorma Marstio/Otavamedia/Lehtikuva
Baking rye bread takes patience, since it involves several steps over multiple days.
You need to get the starter from someone (it’s also possible to create your own; see the recipe below). In Portland, Oregon, USA, where I grew up, there were two strands of competing rye starter. Owners of either claimed that theirs was the best, and, coincidentally perhaps, both were “100 years old.”
The starter likes warmth. When I lived in Helsinki, I kept the bowl on a heated towel rack in the bathroom. In Zagreb, I turn the heating on in the kitchen and close the doors and windows tight.
You’ll have to “feed” the starter after a day or two if it doesn’t begin to ferment. You do that by leaving about a decilitre of starter in the bowl and throwing the rest away. Add a decilitre of flour and the same amount of lukewarm water, then whisk and cover. You’ll know it’s ready when it gives off a strong, pungent smell.
Magic taste
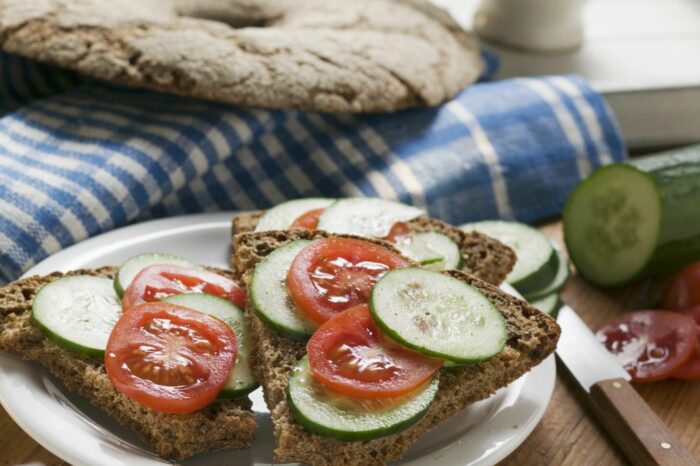
Rye bread is great with just butter, or you can add vegetables and other sandwich toppings.Photo: Stockfood/Lehtikuva
The real magic happens once you’ve added the rye flour, water, and salt and kneaded the dough. (If the starter is at the peak of its fermentation cycle, no additional yeast will be needed.) Do this in the evening and then let it rise in a warm place overnight – about ten hours.
Shape it into loaves in the morning and let them rise for at least another two hours, then bake. The long fermentation helps develop the sour, tangy taste that is a hallmark of Finnish rye bread (some recipes use a shorter fermentation period).
Timing is everything, and it can be challenging to coordinate it so that the starter is ready on a Friday evening, for example, so you can bake Saturday morning.
Sustaining stories
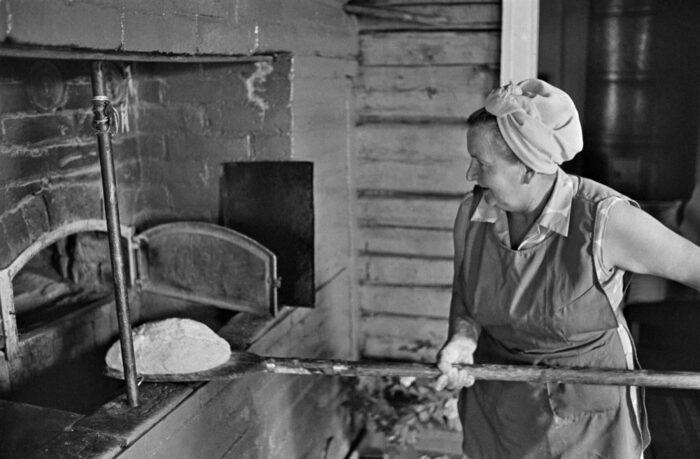
The brick oven in Ilomantsi looked a bit like the one in this picture. The baker in this 1974 photo is Saara Taskinen of Kuopio, a town in central Finland.Photo: Jaakko Julkunen/HS/Lehtikuva
Bread, like the stories from our past, sustains us. I tell my boys that rye bread makes you strong; I tell them about my grandmother and her house in Ilomantsi, a town in North Karelia, near the modern Russian border.
When I visited her in the winter, I’d build snow forts and go skiing and sledding with my sister and our cousins. After I came in, I’d play atop the big wood-heated baking oven, which was made out of bricks. (My grandmother would make a fire in it in the morning and the oven would remain warm all day.) Caked-on snow would melt off my wool socks, and the moisture would then evaporate from the still-warm bricks.
I tell my kids about how it must have been to leave your home and become a refugee, and to keep a baby warm and fed while on the road. And, I say, isn’t it funny to think that through all those times and places, the very same rye bread that you’re eating now has been there, too?
By Eric Bergman, October 2023
Recipe: Finnish sourdough rye bread
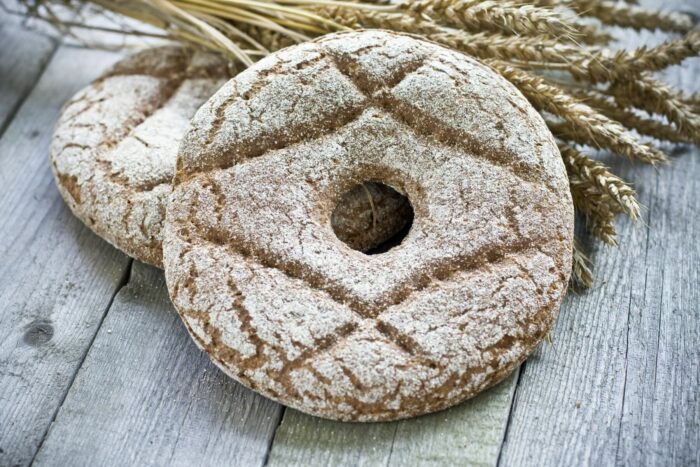
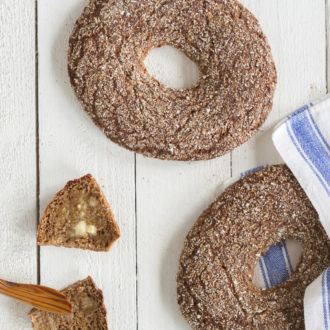
You can choose different shapes for your rye bread. One of the most common is a round, flat loaf with a hole in the middle.Photo: Ossi Lehtonen/Lehtikuva
The recipe below is republished with permission from the Martha Association (known as Martat in Finnish). Founded way back in 1899, the nonprofit provides advice on food, nutrition, gardening, the environment, family finances and consumer issues.
You can find another rye bread recipe – and many other dishes – if you visit our eastern Finnish recipes page. That method calls for adding store-bought yeast, whereas the sourdough starter in the recipe below contains no commercial yeast, giving the bread a tangy taste that many purists love. (Nonetheless, the final phase of the bread recipe below does include an option to add yeast.)
No matter which kind of rye bread you prefer, be sure to check out our other mouthwatering recipe articles, too.
Making the starter
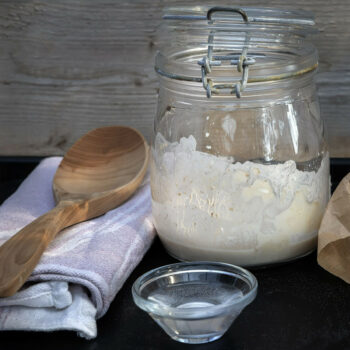
People often keep starter in an old-fashioned glass jar.Photo: Riitta Veijola/Lehtikuva
In Finland you may be able to obtain starter dough from a bakery, friend, neighbour or shop. However, you can also make it yourself.
Day 1:
- 3 tablespoons rye flour
- 3 tablespoons lukewarm water
- Mix the ingredients in a small glass jar, then put the jar in a warm place, such as on top of the refrigerator, for two days. Put the top on loosely, so that air can circulate.
Day 3:
- 2 tablespoons rye flour
- 2 tablespoons lukewarm water
- Add more flower and water and put the jar in the same place for one more day.
Day 4:
Now you can use the starter to make bread. At first the starter will be only slightly sour, but the taste will strengthen when used to make bread. Starter dough will keep in the fridge for about two weeks, and for longer periods in the freezer.
Making sourdough rye bread
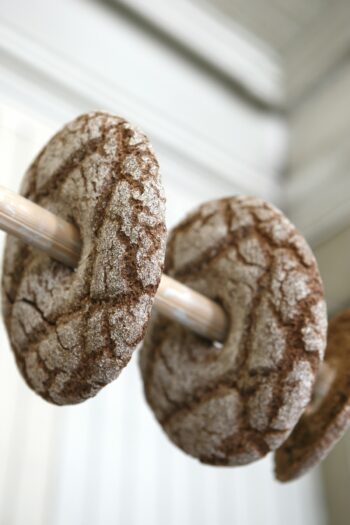
A rye bread loaf with a hole in the middle can be stored on a pole.Photo: Ismo Pekkarinen/Lehtikuva
Now that you have the starter, how do you make the actual rye bread? This recipe makes two loaves.
Phase 1:
- 2 dl lukewarm water
- about 1 dl of sourdough starter
- 2 dl rye flour
Phase 2:
- 6 dl lukewarm water
- 1/2 to 1 tablespoon salt
- (about 10 g yeast) [optional, see below]
- 1.6–1.8 litres rye flour [approximately 1 kg]
Phase 1:
1. Mix the water, the starter and the flour into a smooth dough.
2. Cover loosely with clingfilm and put it in a warm place, such as near the stove or on top of the refrigerator. Leave it overnight or until it is bubbling properly.
3. When the sourdough begins to bubble and it is producing a mild sour aroma, it’s ready.
Phase 2:
1. Add the salt (adjust the amount according to your own preferences) and the water to the dough and mix until the salt is dissolved. If you want to ensure that the dough will rise, dissolve a bit of yeast into the dough liquid. (Many bakers consider it important that the dough rise naturally, without adding yeast.)
2. Mix the flour into the dough bit by bit. The quality of the flour affects the amount you need.
3. Knead the dough vigorously, for at least ten minutes by hand or five minutes mechanically, until it is smooth and quite firm. Cover it with a cloth, put it in a warm place and let it rise until doubled in size, about three to six hours depending on the temperature. It’s important to let the dough rise properly.
4. Turn the dough out onto a well-floured baking table and leave some at the bottom of the bowl to form the starter for next time. Knead the dough vigorously several times.
5. Divide the dough and roll the pieces into round balls. Put them on a baking sheet and cover with a cloth. You can also use the dough to make quite a thin bread with a hole in the middle [editor’s note: this is another traditional form of the bread that you will often see]. Let the dough rise for two to three hours, depending on how warm the place is. When you press the dough lightly with your finger, it should rise back quickly. If you want to make the bread a bit flatter, you can press the loaves down. Poke holes in the surface of the loaves with a fork.
6. Bake the loaves at 225 degrees Celsius for about 20 minutes, then lower the temperature to 180 degrees Celsius and continue baking for about 40 minutes. If making flatter bread with a hole in the middle, bake at 225 degrees Celsius for 20 to 30 minutes. You can check whether the bread is ready by turning it over and knocking on the bottom of the loaf with your knuckles. If it makes a hollow thudding sound, it’s done. Let the loaves cool under a thick cloth.
Tip: If you’re using an electric oven, you can put water in a container such as a metal dish and place it on the bottom of the oven. [This will help produce a nicer crust.]
Recipe courtesy of the Martha Association
